How to Clean an Airbrush for Miniature Painting: Quick Rinse to Deep Clean
Published How we research

An airbrush needs a quick rinse between colors and a fuller clean at the end of every session. Acrylic paint dries fast inside the tiny passages, and a partly blocked airbrush spits, sputters and gives rough coverage. Good cleaning habits are the single biggest factor in keeping a gravity-feed airbrush working well. This guide explains the three levels of cleaning, the basic steps for each, the supplies that help, how to deal with a stubborn clog and the safety points to remember when you spray cleaners. Always read your airbrush manual first, because different models come apart in different ways.
Products from this article
The highest-scoring picks from the buying guides this article links to. Scores are our editorial assessment, not customer ratings.
+ Glass cleaning pot captures overspray when flushing the airbrush
From our guide: Best Airbrush Cleaning Kits and Supplies
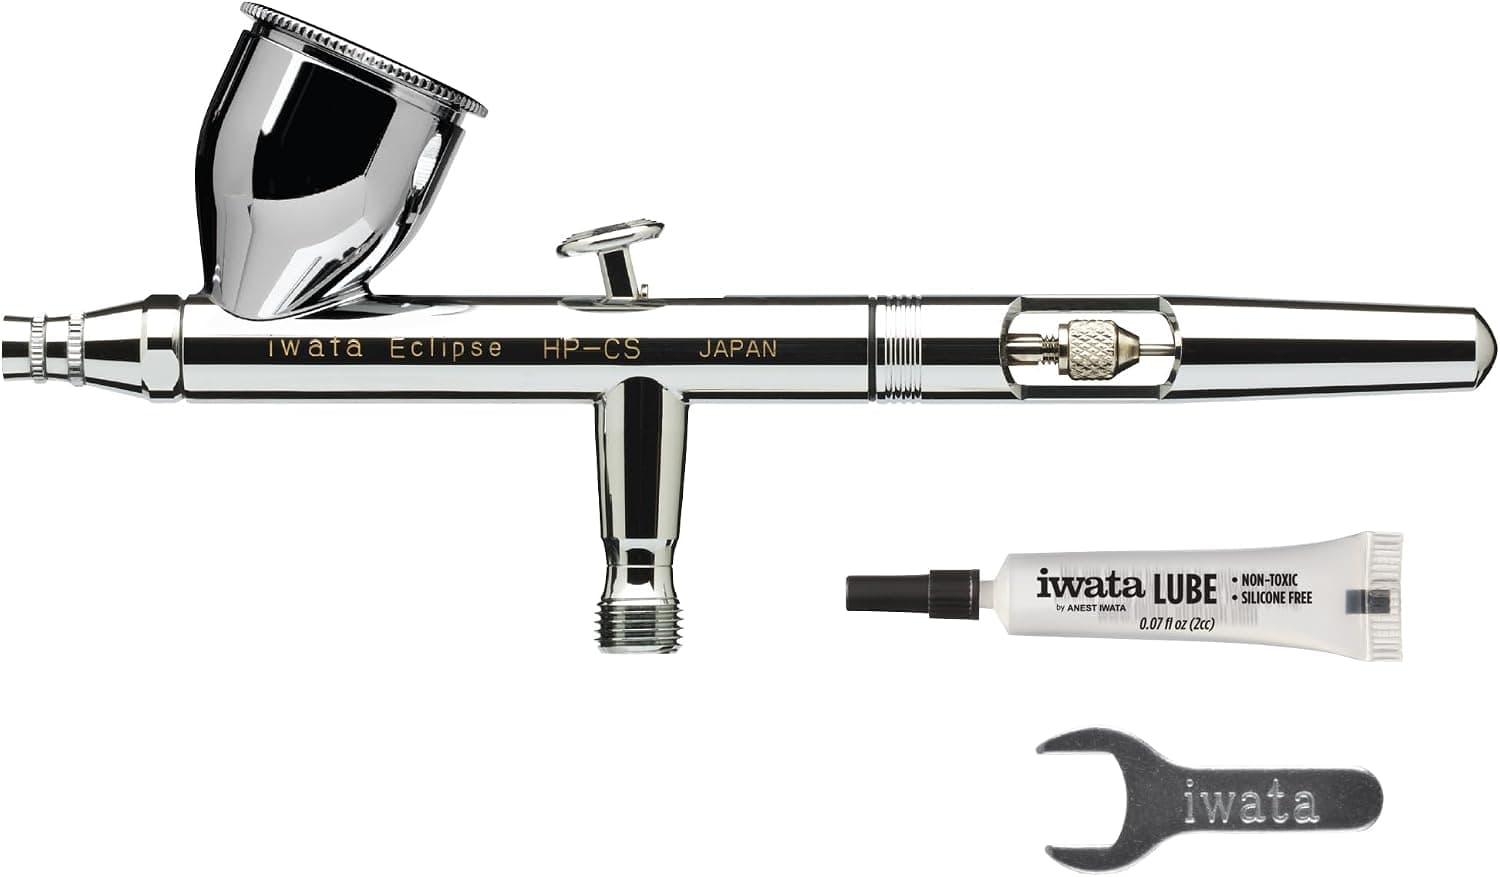
+ Handles fine detail through wide coverage, ideal for minis and vehicles
From our guide: Best Airbrushes for Painting Miniatures
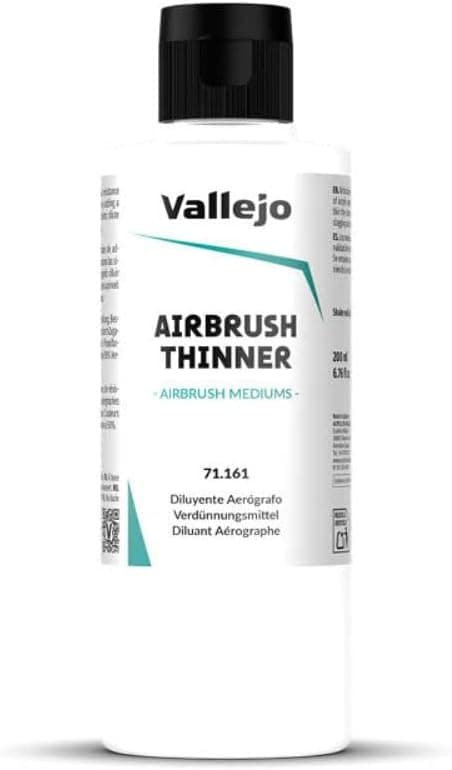
+ Designed to thin Vallejo and similar acrylics without breaking binder
From our guide: Best Airbrush Thinners for Miniature Paints
+ Dual exhaust fans move more air for cleaner overspray removal
From our guide: Best Spray Booths for Hobby and Miniature Painting


Why airbrush cleaning matters
An airbrush uses a fine needle moving inside a small nozzle, and paint passes through gaps that are a fraction of a millimeter wide. Any dried paint on the needle, in the cup or around the tip changes how the paint sprays. Most beginners who say an airbrush is difficult are actually fighting dirty equipment.
Cleaning is quick when you do it as you go. A thirty second rinse between colors prevents a thirty minute rescue later. Think of it like brushing your teeth: a small routine that avoids bigger problems.
Level one: the quick rinse between colors
Pour out any leftover paint from the cup, or spray it into a waste container, and wipe the cup with a cotton swab. Add a little clean water or airbrush cleaner to the cup and spray it through into a jar or a paper towel until the liquid runs clear. Repeat once or twice. Many painters like to keep a small jar of cleaner on the bench for this purpose.
While the airbrush is still wet, brush the cup and the needle area lightly with a soft brush or a cotton swab. If you are switching from a dark to a light color, spend a little longer on this step, since a bit of leftover pigment can tint the next paint. If you are only taking a short pause, you can finish the rinse and set the airbrush down without a full clean.
Level two: the end of session clean
At the end of a session, spray the cleaner through until it runs clear, then back flush if your airbrush manual allows it. Back flushing means blocking the nozzle gently with a soft cloth or the cap while air pushes the liquid backward into the cup, which can loosen paint in the nozzle. Some models do not like this, so check the manual before trying it.
Next, remove the handle and the needle, following your manual so you do not bend it. Wipe the needle with a soft cloth or tissue, pulling from back to tip, and be careful of the point, which is easily damaged. Clean the cup and the nozzle area with a soft brush, a cotton swab or the cleaning tools included in a kit. Reassemble gently and check that the needle moves smoothly.
Level three: the deep clean for clogs
If the airbrush still sprays poorly, a full strip-down is the next step. Remove the nozzle cap and nozzle according to your manual, and soak the metal parts in an airbrush cleaner made for acrylics for a short while. Gentle cleaning with a nozzle reamer or a fine brush can remove paint from inside the nozzle, but never force a tool in, since the nozzle is delicate.
Avoid soaking parts for long periods unless the manufacturer says it is safe, because some cleaners can damage seals and gaskets. After cleaning, rinse the parts, dry them and reassemble. A drop of airbrush lubricant on the needle keeps it moving freely, though use only products intended for airbrushes and only a very small amount.
Handling common problems
Tip dry is a crust of dried paint that forms on the needle tip and causes spitting or an uneven spray. Wipe it off with a damp cotton swab and keep the airbrush at a steady pressure while painting. Thinning the paint slightly and adding a small amount of flow improver can help reduce it.
If the airbrush spits at the start of a stroke, check that the needle is seated correctly, the nozzle is tight and the paint is thin enough. If the airbrush gives a thin, weak spray, look for a bent needle or partial clog. A bent needle should be replaced, as bent tips make poor lines and can scratch the nozzle.
Supplies that make cleaning easier
You do not need a lot of gear. A jar of clean water or airbrush cleaner, a second jar for waste, a pack of cotton swabs, lint-free cloths and a few soft interdental style brushes cover most cleaning. A set of nozzle cleaning tools is useful if your airbrush uses removable nozzles, and a small bottle of airbrush lubricant is worth having for the needle.
Many painters also keep a cleaning pot, which is a small jar with a lid and a hole or a foam pad that lets you spray cleaner into it safely without a spray of mist in the room. It is a cheap upgrade that keeps your workspace tidier and reduces how much cleaner vapor ends up in the air.
A simple routine to follow every session
Rinse between every color. Do a fuller clean when you finish, with the needle wiped and the cup brushed. Once a week or whenever the spray starts to look uneven, strip the airbrush for a deep clean. This pattern takes little time once it becomes a habit.
Write down the steps your own airbrush needs, since some models need extra care around seals or a particular order of parts. Taping a short reminder to your bench helps when you are tired at the end of a long painting night and tempted to skip the clean.
Safety and good practice
Spray cleaner only into a container or onto a paper towel, never toward people, pets or open flame. Work in a ventilated space and use a spray booth or a fan with an outlet to the outdoors where you can, since fine mist and some cleaners should not be breathed in. Check the safety information on any cleaner you buy, especially solvent-based products used with enamels or lacquers.
Dispose of rinse water and cleaner according to local rules, and do not pour paint down a drain if your area asks you not to. Keep needles and nozzles in a safe place, because they are easy to bend or lose. A little care at the end of each session will keep your airbrush ready for the next one.
Popular right now
- The Best Miniature Carrying Cases for TransportBuying guide
- Best Texture Paints for Basing MiniaturesBuying guide
- Best Drybrushes for Miniatures and TerrainBuying guide
- The Best Magnifiers for Miniature PaintingBuying guide
- Best Miniature Paint Sets for Tabletop PaintersBuying guide
- Best Speed Paints for Fast Miniature PaintingBuying guide
Based on the last 28 days of search and visitor data.