How to Remove Mold Lines From Miniatures
Published How we research
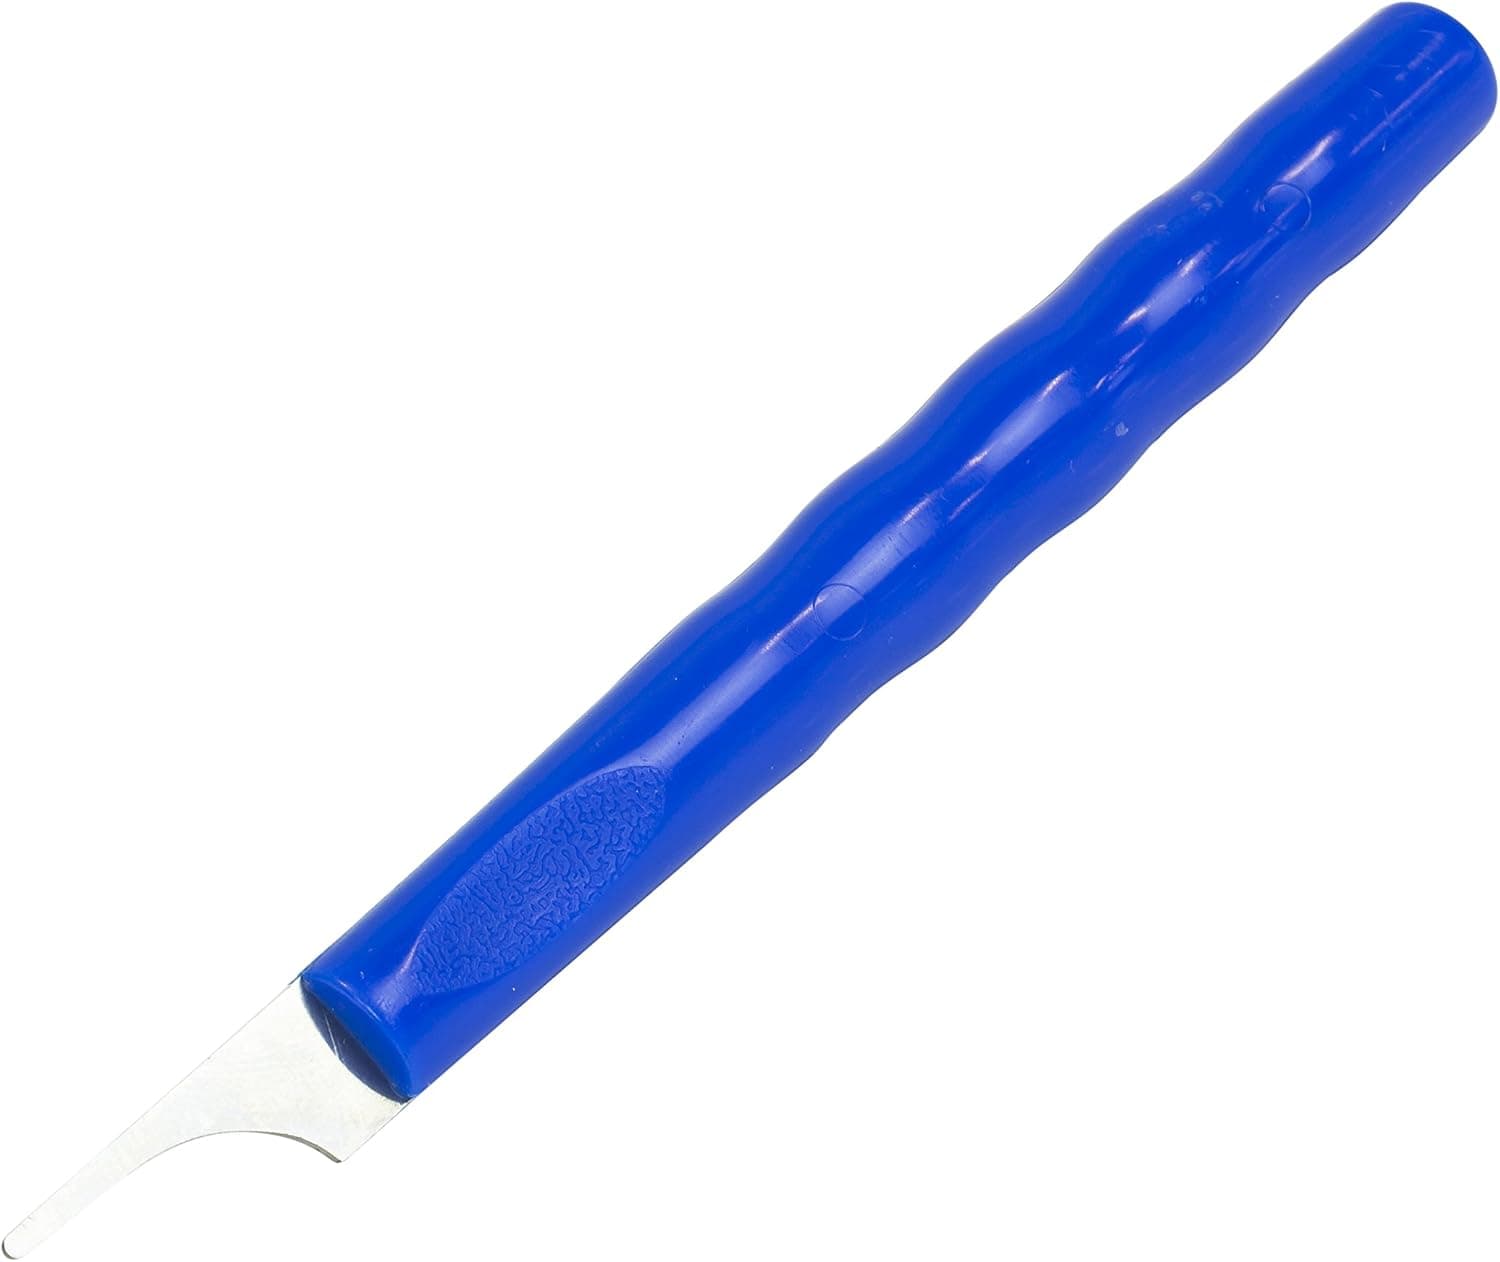
A mold line is the thin raised ridge left where the halves of a mold meet, and you remove it by scraping it flat with the back of a hobby knife or a dedicated scraper, then smoothing the spot with a fine file or sanding stick. Do it after clipping the parts from the sprue and before gluing and priming, because primer and paint make the line more visible, not less. Washes, contrast paints and drybrushing all catch on the ridge and draw a dark or bright stripe across a cloak or a gun barrel. Once you know where to look, cleaning an infantry model takes about five to ten minutes.
What a mold line is and where to find it
Miniatures are cast in molds made of two or more pieces. Where those pieces meet, a hairline of extra material forms and runs around the whole part like the seam on a plastic bottle. On a single-piece figure it usually travels over the top of the head, down the shoulders and arms, along the outside of the legs and around the base of the feet. On weapons it runs the length of the barrel or blade, which is exactly where the eye goes on a finished model.
Three other flaws get confused with mold lines. A sprue gate is the stub left where the part was attached to the frame. Flash is a thin skin of excess material that spreads out from the seam, common on metal and resin casts. A gap is a seam between two parts you glued together, and it needs filler, not scraping. Each has its own fix, so identify what you are looking at before you start cutting.
To find mold lines, hold the part under a bright lamp and turn it slowly so the light rakes across the surface from the side. The ridge throws a tiny shadow. Dragging a fingernail across a smooth area finds the ones you cannot see. Check heads, helmets, shoulder pads, cloaks, gun barrels and the backs of legs first, since those broad smooth areas show a line most clearly after painting.
Tools that remove mold lines
The classic tool is the back of a hobby knife blade. The dull spine scrapes the ridge away without digging in the way the sharp edge does. A dedicated mold line remover does the same job with a hardened, unsharpened edge and a comfortable handle, and it is safer for younger hobbyists because there is no cutting edge to slip.
Needle files handle the places a straight edge cannot reach. A flat file works on armor plates, a half-round file on curved limbs, and a round file inside folds of cloth and between legs. Sanding sticks or sanding sponges in the 400 to 1000 grit range finish the surface: start around 400 to 600 to level a stubborn line and move to 800 or 1000 to remove the scratches. Flush-cut sprue clippers matter too, because a clean cut close to the part leaves less of a gate to tidy up.
Step by step on plastic miniatures
Clip the part from the sprue with the flat side of the clippers toward the part, leaving a small stub instead of cutting flush in one go. Slice or scrape the stub down afterward. Cutting too close in a single snip can tear a divot out of the plastic that is harder to repair than a stub is to remove.
Hold the knife so the blade stands roughly perpendicular to the surface, at about 90 degrees, and drag the back of the blade along the mold line with light pressure. You are shaving, not carving. Several light passes that each lift a fine curl of plastic give a smoother result than one heavy pass. Follow the curve of the part and rotate the model instead of your wrist so the blade stays at the same angle.
Switch tools where the scraper cannot follow the shape. Use a round or half-round file in the creases of cloaks and between fingers, and let the file do the cutting on the push stroke. On large smooth panels such as vehicle hulls and shoulder pads, finish with a fine sanding stick so no flat facet is left where the line used to be. Brush the dust away with an old, dry brush and check again under the lamp before you reach for the glue.
Resin and metal need a different touch
Resin is softer than polystyrene and far more brittle. Scrape gently and support thin parts such as spears and antennae from behind with a finger, because they snap instead of bending. Resin dust should not be inhaled, so wet sand by dipping the sanding stick in water, or wear a dust mask and wipe the desk down afterward. Wash resin parts in warm soapy water and let them dry before priming, since mold release left on the surface stops primer from gripping.
White metal is harder than plastic and its mold lines are often heavier, with flash and small vent tabs sticking out from the seam. Clip the tabs off, then work the line down with needle files instead of relying on a knife, which dulls quickly on metal. Files clog with soft metal, so clear the teeth with a stiff brush as you go. Keep a blade you do not mind ruining for metal figures and save your sharp ones for plastic.
Fixing gouges, flat spots and lines found after priming
If the blade digs in and leaves a gouge, fill it instead of trying to scrape the surrounding area down to match. Press a small amount of putty into the mark, let it cure fully, then sand it level with a fine stick. Liquid or acrylic plastic putty suits shallow scratches, and two-part epoxy putty suits deeper nicks.
A flat spot on a round gun barrel or a limb comes from scraping in one plane. Roll the part against a sanding stick, or wrap fine sandpaper around it and twist, to bring the round section back. On polystyrene models, a very light brush of extra thin plastic cement over a scraped area softens the surface for a moment and smooths out fine scratch marks. Use this only on plastic, keep it away from sharp detail, and let it harden for a few minutes before handling.
Almost everyone finds a mold line they missed once the primer is on, because an even coat of grey or white shows every flaw. Scrape it off as usual, sand lightly, and touch up the bare patch with brush-on primer before painting. It is far easier to fix at this stage than after the basecoat.
Frequently asked questions
Do I have to remove every mold line? No. For a tabletop army, spend your time on the lines that will be seen: heads, weapons, shoulder pads, cloaks and other large smooth surfaces. Lines hidden under arms, between legs or on the underside of a model can stay on rank and file troops. Display pieces and characters deserve a full cleanup.
Should I clean mold lines before or after assembly? Before, in most cases. Separate parts are easier to reach from every side, and the dust and scrapings do not end up in glued joints. Very small parts are easier to hold while they are still attached to the sprue by one gate, so clean what you can reach, clip the last gate and finish that spot.
Can plastic glue melt mold lines away? Extra thin plastic cement can soften a very faint line on a polystyrene model, and it is useful for smoothing an area you have already scraped. It will not remove a proper ridge, it does nothing on resin or metal, and too much of it softens fine detail. Treat it as a finishing step, not a replacement for scraping.
Why do mold lines look worse after painting? Thin paints behave like a highlighter for surface texture. A wash or contrast paint pools along one side of the ridge and leaves a dark stripe, and a drybrush deposits pigment on the top of it and leaves a light one. The cleaner the surface before priming, the smoother every later step looks.
Products from this article
The highest-scoring picks from the buying guides mentioned above. Scores are our editorial assessment, not customer ratings.
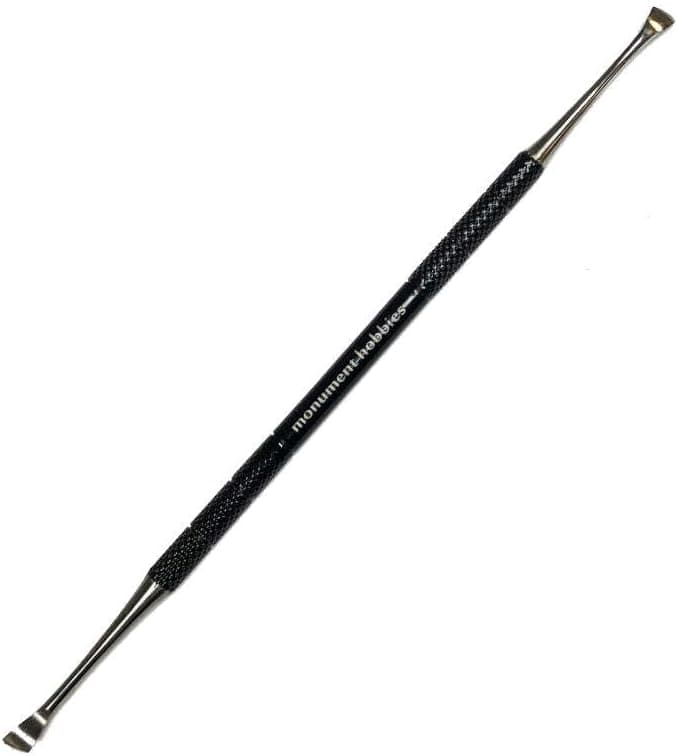
+ Multiple scraping profiles handle flat, curved and recessed seams
From our guide: Best Mold Line Removers for Miniatures
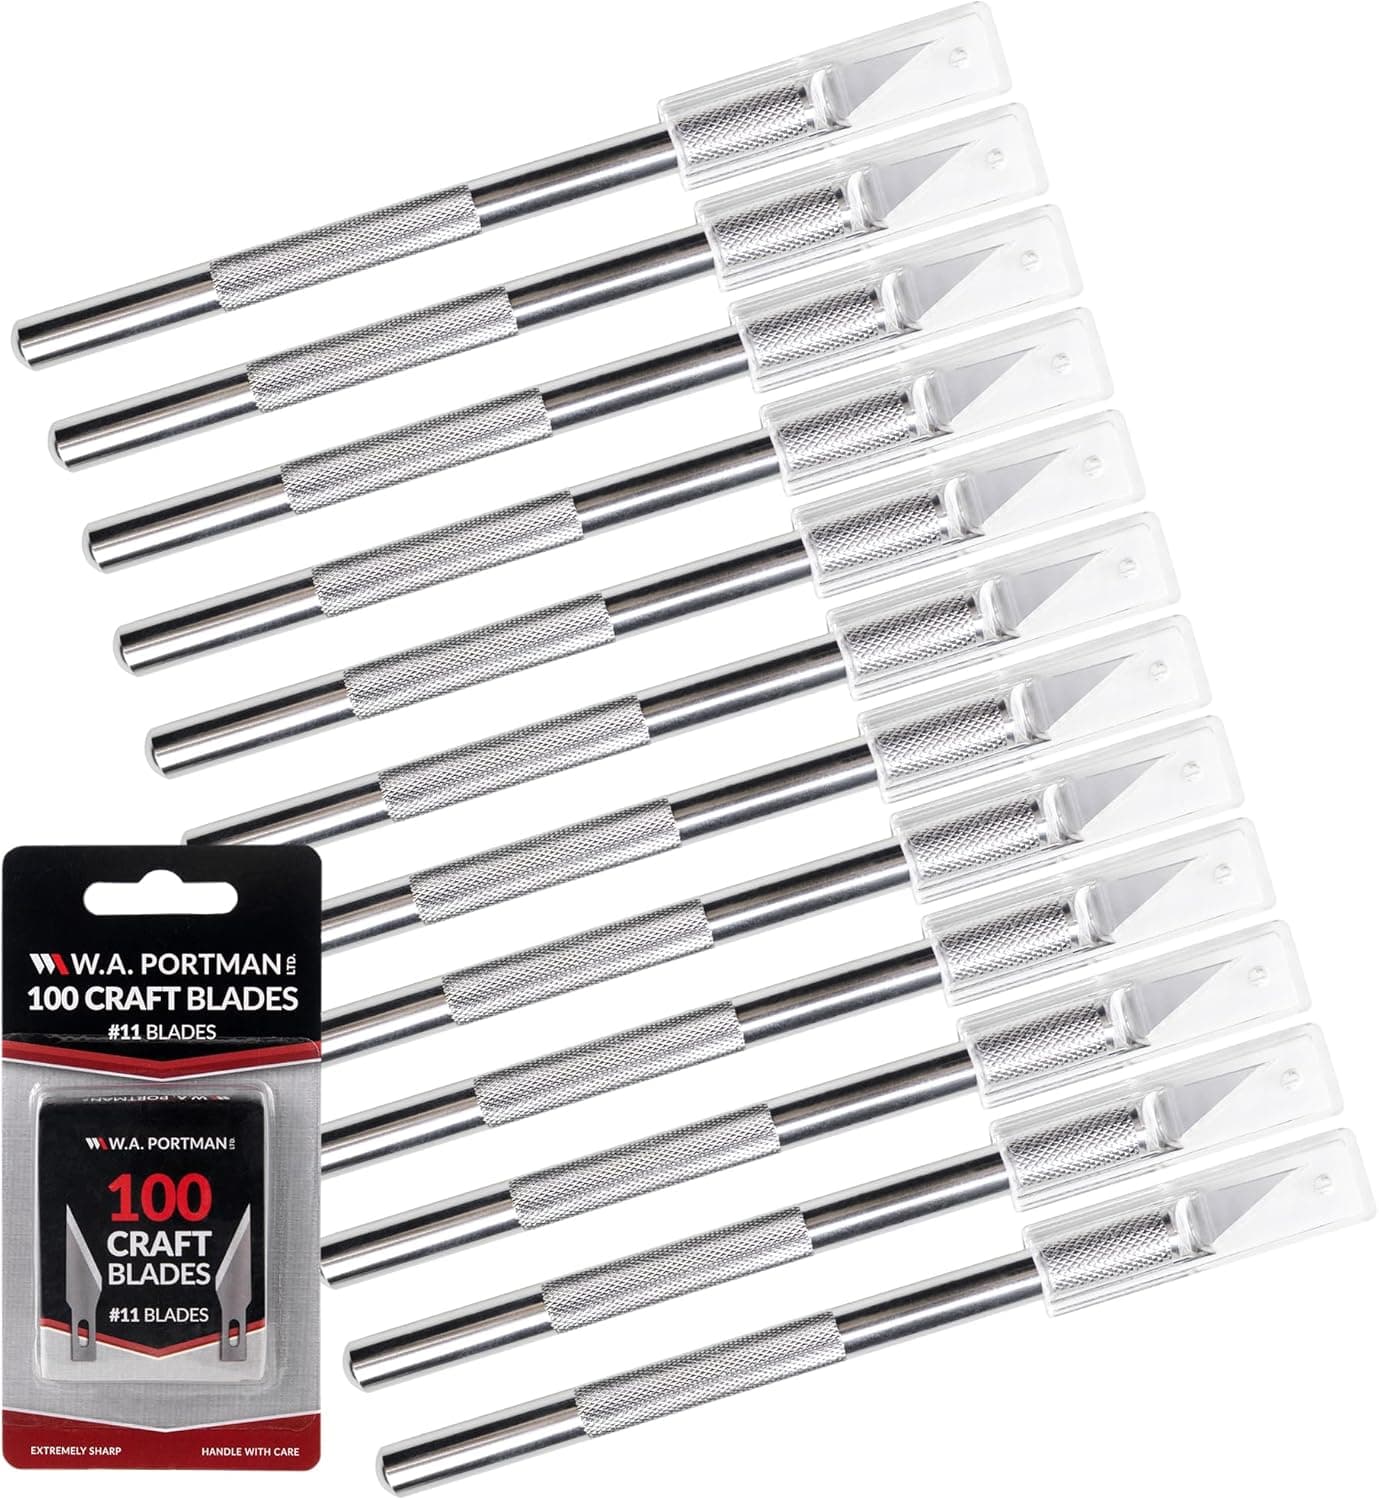
+ 100 SK5 steel #11 blades keep you stocked for years of cleanup
From our guide: Best Hobby Knives for Miniature Modeling
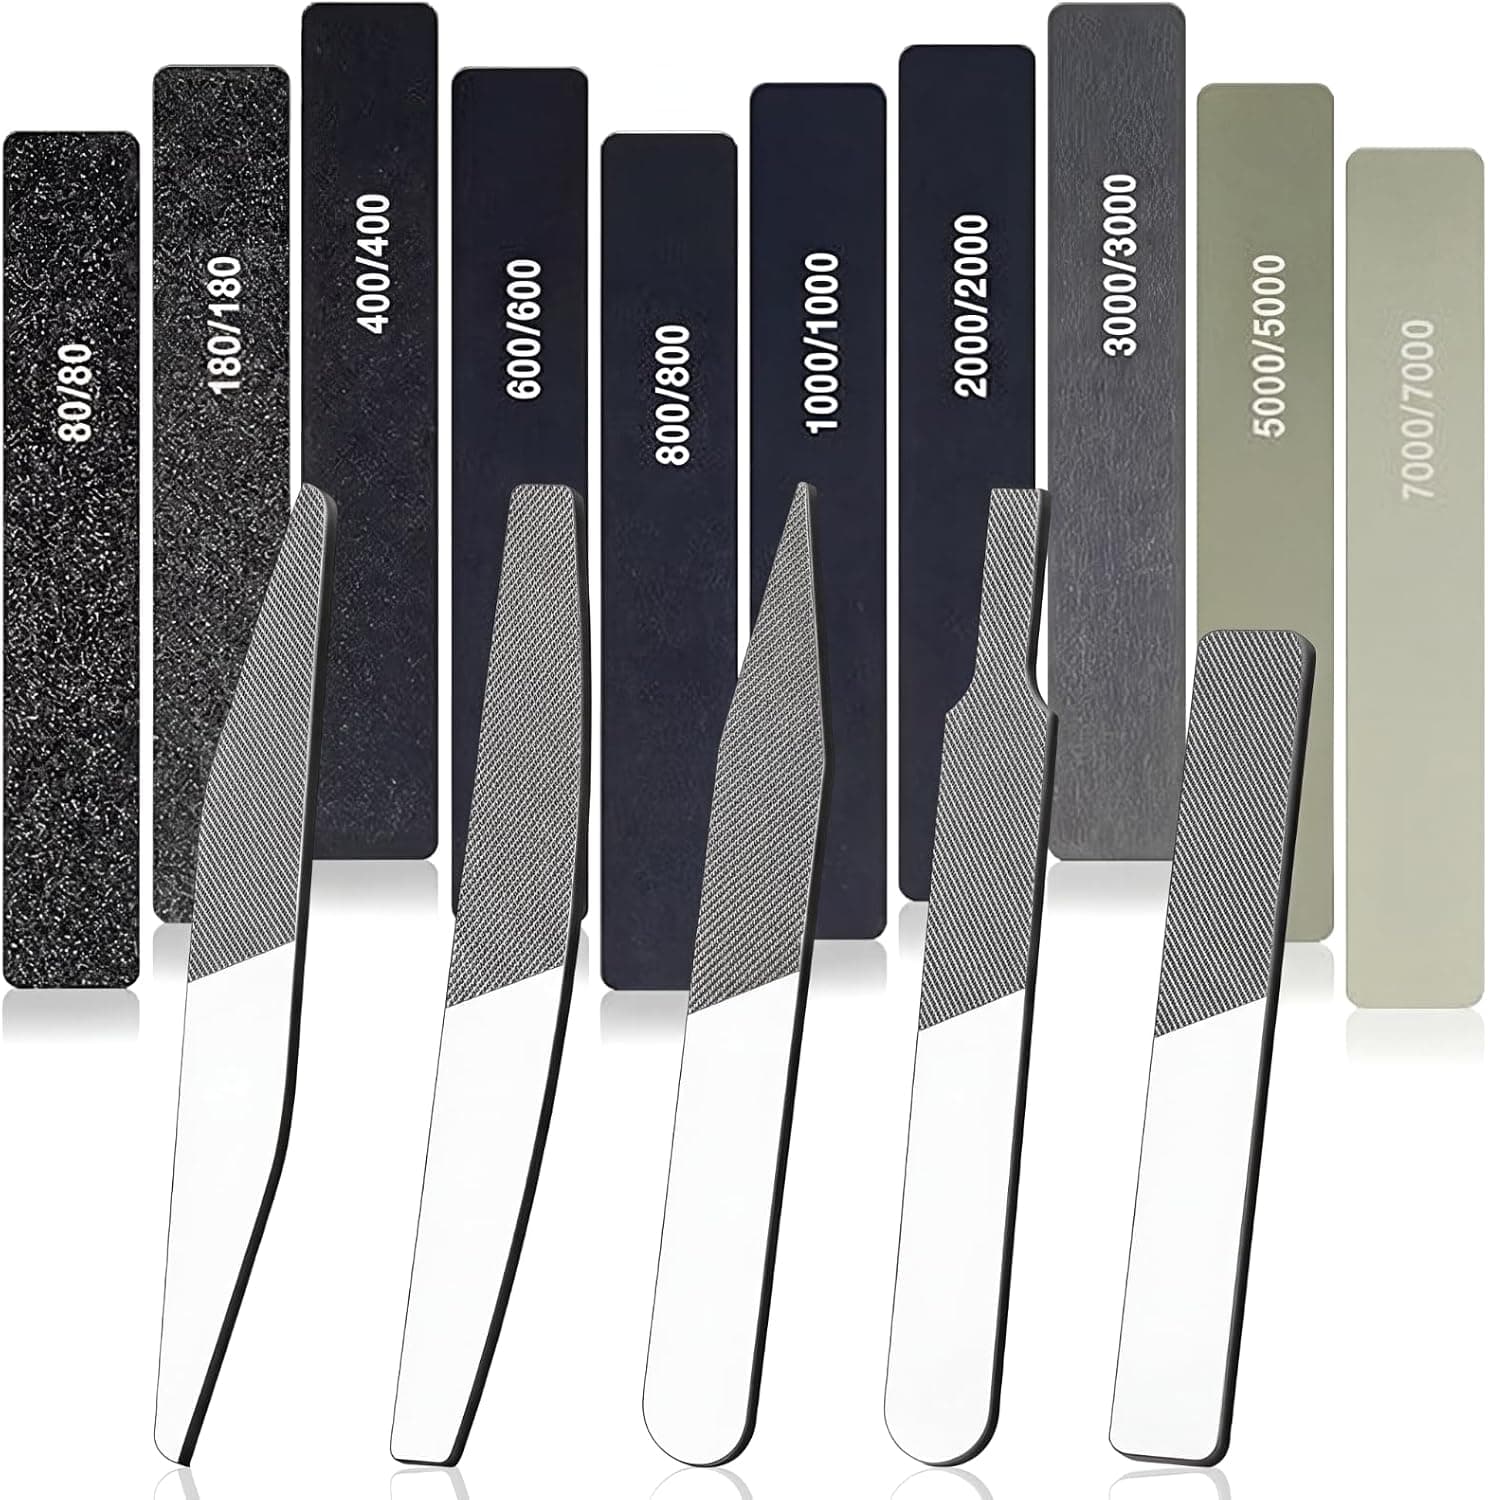
+ 5 glass files last far longer than paper-based abrasives
From our guide: Best Hobby Files and Sanding Tools for Miniatures
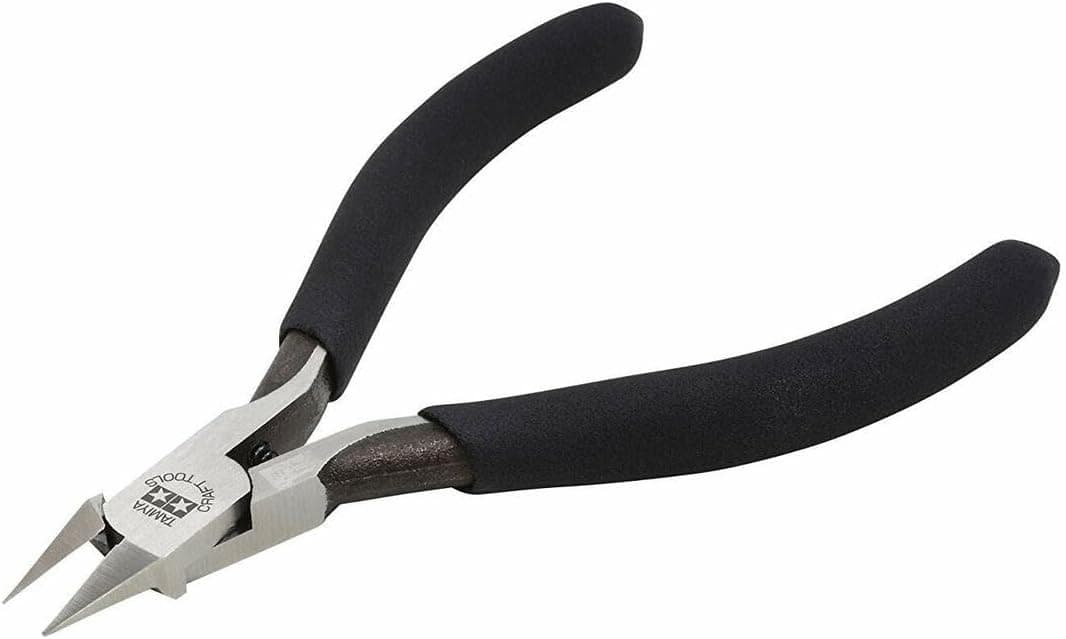
+ Tamiya build quality gives reliable, long-lasting cutting edges
From our guide: Best Sprue Clippers for Miniature Assembly
Popular right now
- Miniature Paint Thinning Ratio ChartArticle
- Priming MiniaturesArticle
- The Best Magnifiers for Miniature PaintingBuying guide
- Best Speed Paints for Fast Miniature PaintingBuying guide
- Best Drybrushes for Miniatures and TerrainBuying guide
- Zenithal PrimingArticle
Based on the last 28 days of search and visitor data.