When to Put On Primer: Where Priming Fits in the Miniature Build Order
Published How we research
Put primer on after the model is cleaned, assembled and gap-filled, and before any paint touches it. In practice that means: clip the parts, scrape the mold lines, wash resin or metal, glue, fill and sand, let the glue and putty cure, then prime, and then wait a few hours (ideally overnight) before the first basecoat. The order matters because primer seals in whatever is under it. Mold lines, dust, fingerprints and mold release agent all show through a primed surface, and a gap you fill after priming has to be re-primed anyway. The sections below walk through each stage, when it is safe to move on to the next one, and the two common exceptions: parts that must be primed separately as sub-assemblies, and basing material that goes on before the primer rather than after it.
The full sequence from sprue to first basecoat
A reliable build order for a plastic, resin or metal miniature runs like this. First, clip the parts from the sprue and trim the sprue nubs flush. Second, scrape or sand the mold lines while the parts are still separate, because a seam running under an arm is impossible to reach once the arm is glued. Third, wash resin and metal parts in warm water with a drop of dish soap and let them dry completely; plastic parts rarely need it, but a rinse does no harm if the sprue feels greasy. Fourth, glue the model together, pin any heavy metal joins, and fill gaps with putty. Fifth, let everything cure, then mount the model on its base or a painting handle. Sixth, prime. Seventh, let the primer cure and start painting.
Primer sits late in that list on purpose. Every stage before it either removes something (mold lines, release agent, dust) or adds something that needs to be hidden (glue squeeze-out, putty seams, sanded patches). A single coat of primer unifies all of that into one surface and one colour, which is exactly what makes the first basecoat go on smoothly. Doing it earlier means handling a primed surface with bare hands through the whole assembly, and the oils from your fingers on contact points are the usual reason paint later rubs off at the hands, sword edges and backpack corners.
How long to wait before priming: glue, putty and washing
Plastic cement is dry to the touch in 10 to 20 minutes, but the solvent keeps evaporating from inside the join for several hours. Priming over a join that is still gassing out can give you a soft, slightly bumpy line where the primer never quite hardens. Give polystyrene cement at least a couple of hours, and a full evening if the model has large flat contact areas such as a vehicle hull. Super glue sets in seconds to a minute and is firm enough to prime within an hour; its full strength arrives over the next day, so avoid stressing pinned joins until then. If you are choosing an adhesive for a particular material, thin capillary cements for plastic and gel cyanoacrylate for resin and metal behave differently under primer: cement welds and leaves nothing on the surface, while super glue leaves a hard skin that benefits from a quick sand before priming.
Epoxy putties such as green stuff and Milliput firm up within a few hours and reach full hardness by the next day. Primer will stick to them earlier than that, but sanding or scraping a seam flush only works once the putty is fully cured, so the practical rule is: fill today, sand and prime tomorrow. Acrylic plastic putties dry faster, usually within an hour for a thin smear, and shrink slightly, so check the gap after it dries and add a second thin pass before you prime rather than after.
Washed parts need to be bone dry. Water sits in recesses, between fingers and inside hollow backs for far longer than the outside suggests, and spray primer over a damp recess either beads up or dries milky. A few hours on a paper towel in a warm room is enough; overnight is safer for metal models with deep undercuts. Shaking the parts out and blotting with a towel speeds it up.
Prime assembled, or prime as sub-assemblies?
Prime the model fully assembled whenever you can reach every surface with a brush afterwards. For standard single-pose infantry, most monsters and most vehicles with closed hulls, that is the case, and assembling first gives you one solid piece to handle and no fiddly gluing of painted parts later. The primer also bridges tiny gaps at the joins that would otherwise need filling.
Prime in sub-assemblies when a part blocks access to the surface behind it. The usual suspects are a shield held across the chest, a cloak that covers the back of the legs, a rider on a mount, wings on a flyer, a cockpit canopy, open hatches with a visible interior, and two-handed weapons held close to the body. The test is simple: hold the loose part in place and ask whether a size 1 brush can still reach the area underneath. If it cannot, keep the part separate, prime it on a cocktail stick or blob of poster tack, paint both pieces, then glue. Scrape the primer and paint off the contact points with a hobby knife before gluing so the adhesive bonds to bare plastic or resin rather than to the paint layer.
Sub-assemblies change the primer timing slightly: you prime earlier in the build for those parts, so finish all mold line and gap work on each sub-assembly before its primer goes on. Dry-fit everything once before priming to confirm the pieces still seat correctly once they carry a layer of primer and paint, which adds a hair of thickness on tight pegs.
Basing: what goes on before primer and what goes on after
Glued ballast goes on before primer. Sand, fine gravel and cork glued down with PVA shed grains until something seals them, and a coat of primer is the cheapest sealer you have. Spread the PVA, press in the sand, let the glue dry fully (a thin layer takes an hour or two, a thick cork build-up overnight), tap off the loose grains, then prime base and model together. The primer locks the texture in place and gives you a uniform colour to drybrush over.
Paste texture paints, the pot-style mud, cracked earth and dry ground products, go on after primer. They are acrylic and bond to a primed base just as well as to bare plastic, and keeping them off the model until it is primed means you can spread them right up to the feet without worrying about a glued-down grain sticking to a boot. Static grass, tufts, leaf litter and snow effects go on last of all, after varnish, because they do not need paint and varnish dulls them.
If you paint on a handle and attach the model to its finished base at the end, prime the base separately with the same colour and at the same session. A base primed black under a model primed grey looks wrong once drybrushed, and matching primer colours later is harder than doing both at once.
How long to wait after priming before you paint
Spray primer is touch dry in 10 to 30 minutes and safe to handle after about an hour, but it keeps hardening for several hours after that. Paint applied over primer that is only an hour old goes on fine; the risk is in handling, because a thumbnail or the jaws of a painting handle can still dent soft primer. Waiting a few hours, or priming in the evening and painting the next day, avoids the problem completely and is the habit most painters settle into. The exception is zenithal priming, where the lighter coats go on while the dark coat is barely dry, usually within 15 to 30 minutes, so the layers blend as one surface.
Brush-on and airbrush primers of the polyurethane type behave differently: they feel dry in minutes and look finished, but the bottle guidance is to allow a full day for the film to cure properly. You can basecoat after a few hours without trouble. What you should not do early is press masking tape onto it or scrub it with a wash; both can lift a young polyurethane film in a way they never lift a cured one.
If you need a second primer coat, because the first one is patchy or you are correcting a fuzzy spot, the can label gives the recoat window. Hobby primers from the usual miniature brands are generally fine to recoat as soon as the first coat is touch dry. General-purpose hardware store enamels often print a rule along the lines of "recoat within one hour or after 24 hours", and ignoring that can wrinkle the first coat. Check the can before you buy if you plan to prime in stages.
When to prime again
Re-prime after any step that exposes bare material. Sanding through to the plastic on a seam, drilling a gun barrel after priming, a conversion that adds a new part, or a drop that chips a corner all leave a patch that paint will not grip. A small bottle of brush-on primer is the answer for spot repairs: one thin coat on the exposed patch, feathered a little onto the surrounding primer, and you are back to a sealed surface without respraying the whole model.
Stripped models always need fresh primer, even if the old primer survived the strip. Paint strippers soften the primer layer and leave it holding residue, so scrub it off, dry the model fully, and treat it as a bare model again. The same goes for second-hand painted models: do not try to paint over an unknown primer.
Weather is the other reason to delay rather than re-prime. Spraying in cold, damp or very humid conditions is the single most common cause of a fuzzy, sandy coat that has to be stripped. If the forecast is bad, the fix is to wait, switch to brush-on or airbrush primer indoors, or batch-prime ahead of the season, which is covered in the cold weather priming article.
Frequently asked questions
Should I prime before or after gluing the model together? After, for anything you can still reach with a brush once it is assembled. Prime before gluing only the parts that block access to a surface behind them, such as shields, cloaks, riders and wings, and scrape the primer off the contact points before the final glue join.
Can I paint straight after priming? Yes, once the primer is touch dry, usually within 30 minutes for a spray and a few minutes for a brush-on coat. Handling is the limit rather than painting: the film keeps hardening for hours, so a model primed in the evening and painted the next day is the safest routine.
Do I prime the base before or after adding sand? Glue the sand on first, let the PVA dry, then prime base and model together so the primer seals the grains. Texture pastes go on after primer, and tufts, static grass and snow go on after varnish.
How long should glue and putty cure before priming? Plastic cement a couple of hours minimum, super glue about an hour, epoxy putty overnight so you can sand it flush first. Washed parts should dry for a few hours, or overnight for metal with deep recesses, because primer over a damp spot beads or dries milky.
Products from this article
The highest-scoring picks from the buying guides mentioned above. Scores are our editorial assessment, not customer ratings.
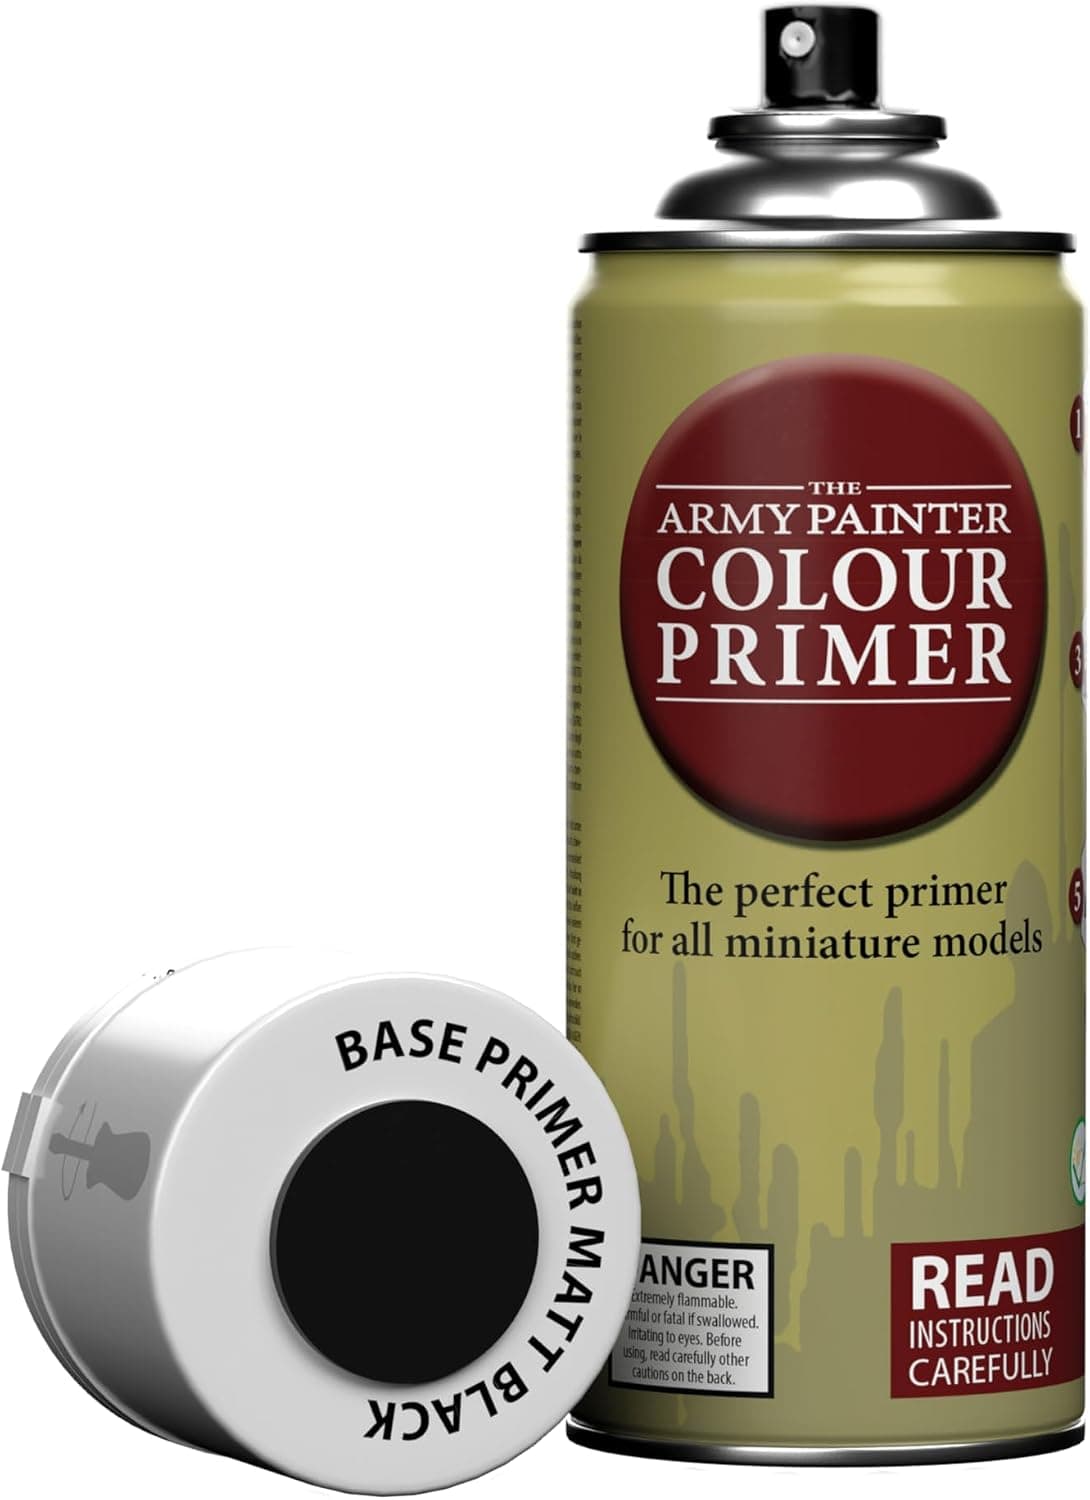
+ Matt black spray primes squads quickly with an even coat
From our guide: Best Primers for Miniatures: Sprays and Brush-On Compared
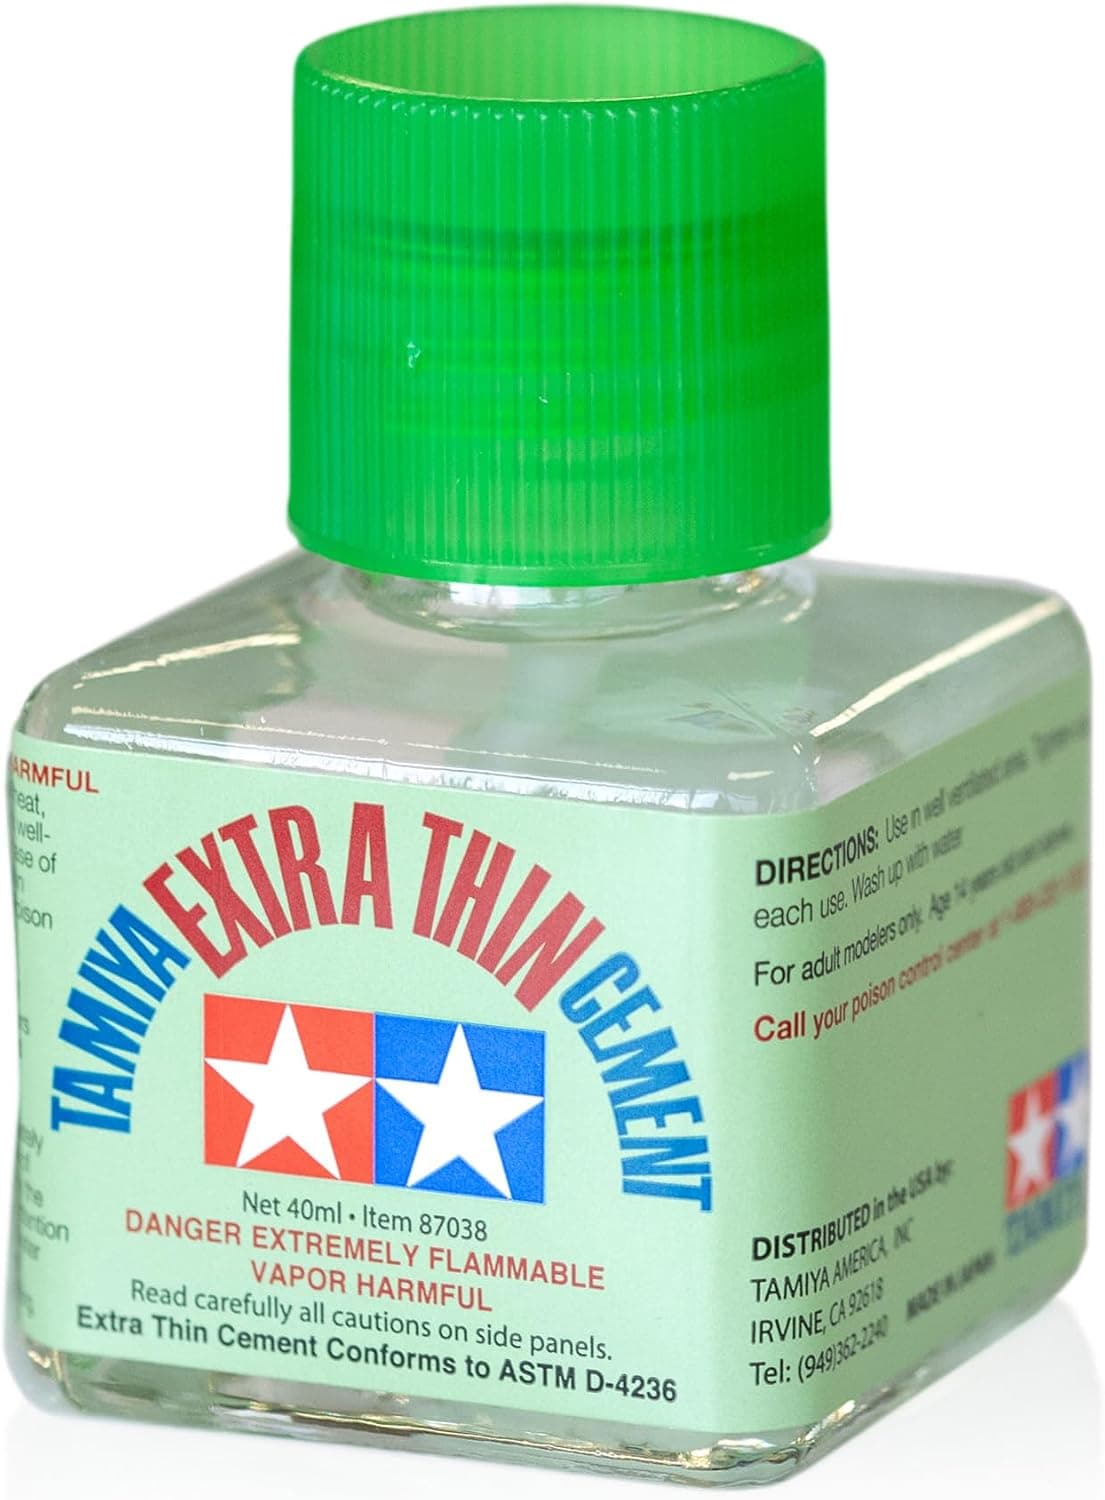
+ Extra thin glue wicks into joints for clean, invisible seams
From our guide: Best Plastic Glue for Miniatures and Model Kits
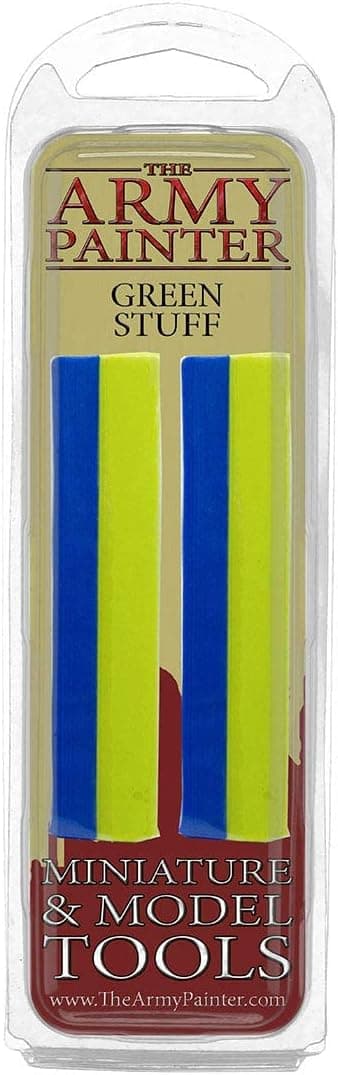
+ Classic Kneadatite formula is the standard for mini conversions
From our guide: Best Gap Filling Putty for Miniatures and Models
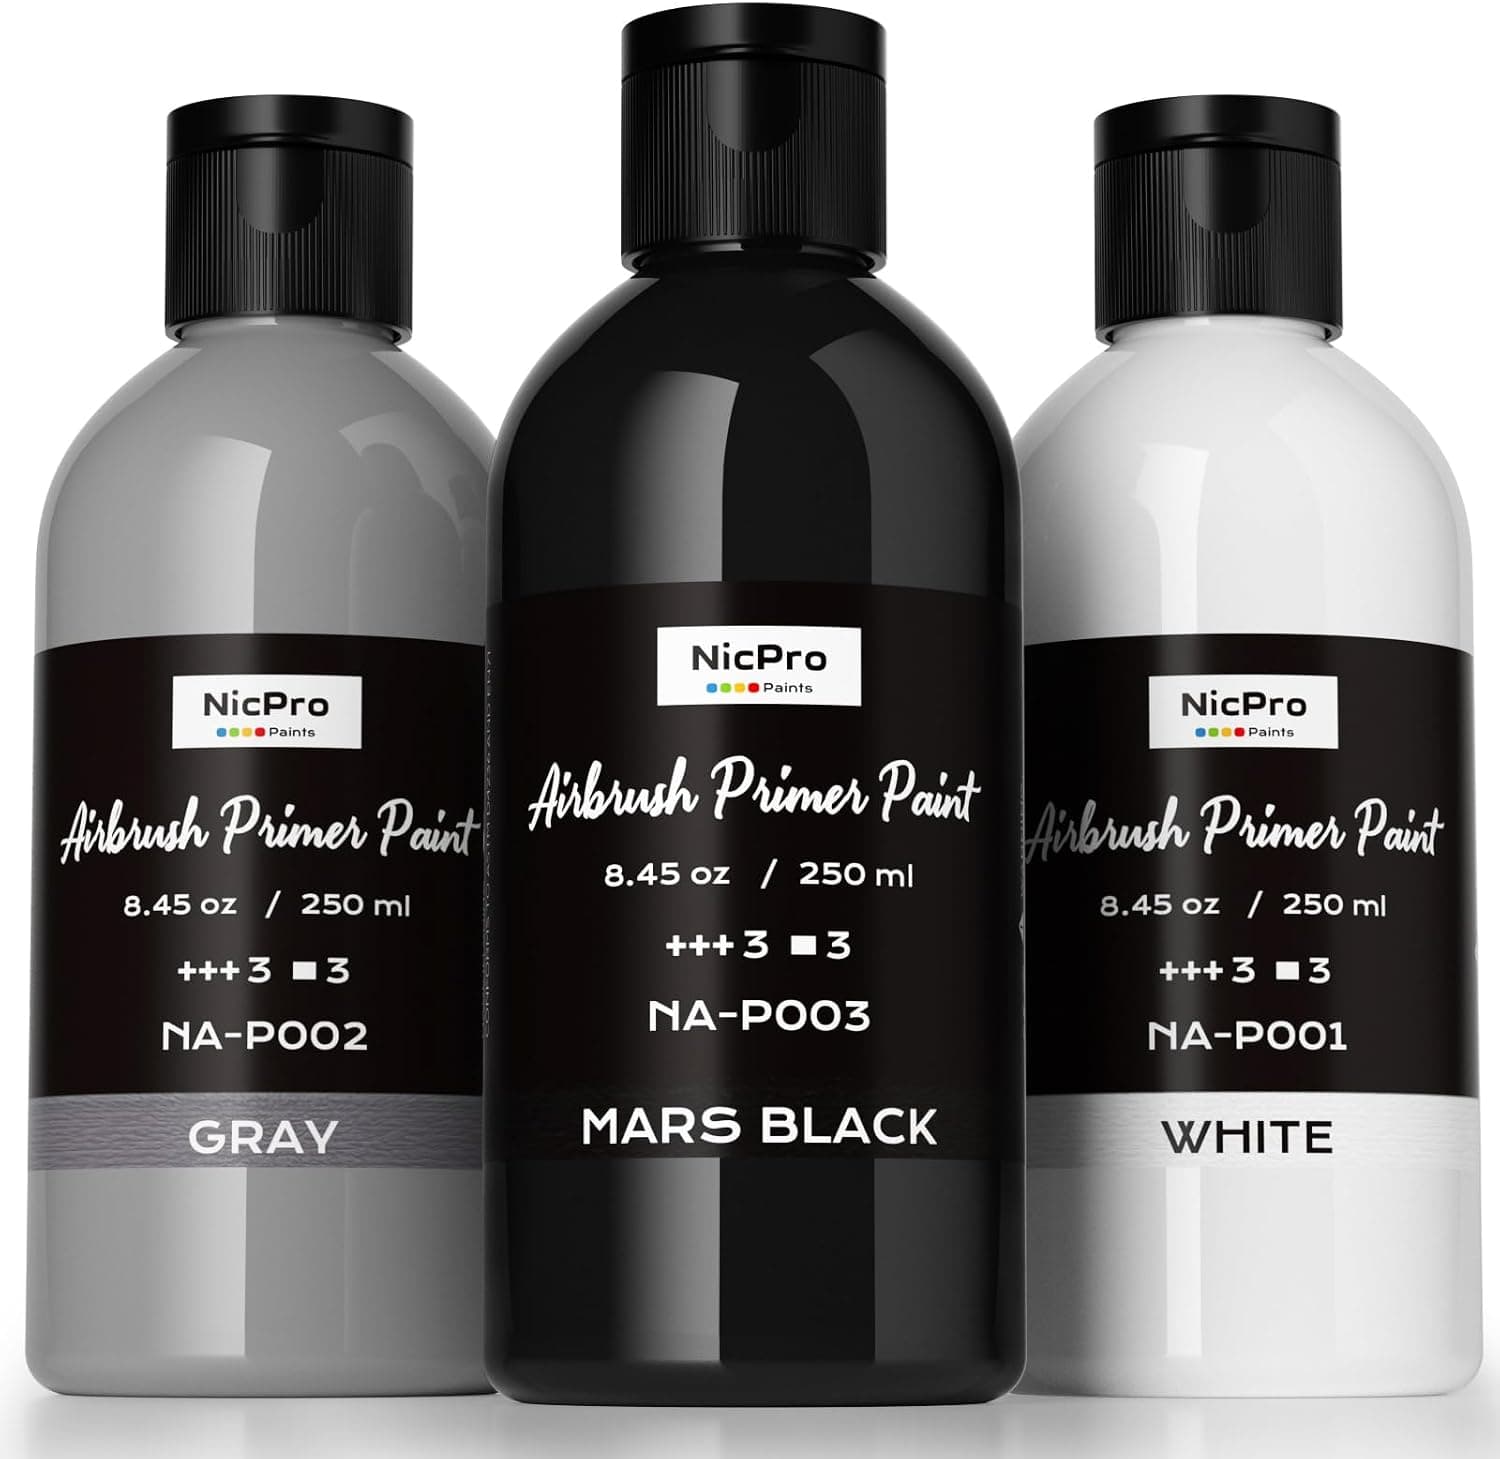
+ Black, gray and white allow zenithal priming in one purchase
From our guide: Best Airbrush Primers for Miniatures
Popular right now
- The Best Miniature Carrying Cases for TransportBuying guide
- Best Texture Paints for Basing MiniaturesBuying guide
- Best Drybrushes for Miniatures and TerrainBuying guide
- The Best Magnifiers for Miniature PaintingBuying guide
- Best Miniature Paint Sets for Tabletop PaintersBuying guide
- Best Speed Paints for Fast Miniature PaintingBuying guide
Based on the last 28 days of search and visitor data.